
Using rsync
Feb. 1, 2018, 6 p.m.
rsync is a file transfer and file synchronization program for Unix and Unix-like computers that provides efficient transfers and synchronization "by sending just the differences in the files across the link, without requiring that both sets of files are present at one of the ends of the link beforehand," according to the rsync website. Because of this efficiency, it is, in some cases, a good alternative to backup and transfer schemes that use tar and scp.
This article will provide some examples of using rsync in both capacities and addresses a problem encountered when using it to transfer very large files.
Introduction
Among its other features, as listed on the rsync Feature Page, are that it:
- can update whole directory trees and filesystems
- optionally preserves symbolic links, hard links, file ownership, permissions, devices and times
- requires no special privileges to install
- [uses] internal pipelining [to reduce] latency for multiple files
- can use rsh, ssh or direct sockets as the transport
- supports anonymous rsync which is ideal for mirroring
The basic command is similar to cp and scp:
rsync [options] /source/path/ /target/pathThe training slash in /source/path/ ensures the contents of /source/path/ are copied into /target/path. If rsync is used to transfer to a remote host, the command is:
rsync [options] /source/path/ user@192.168.56.101:/target/pathAlso like scp, for transfers to remote hosts, it can use ssh to make the connection.
Common options include:
- --exclude
- files or directories that should not be included in the recursive transfer or synchronization can be specified as in
--exclude="/source/path/ecluded-directory"
- --progress
- shows progress of transfer
- --partial
- keep partially transferred files
- -P
- same as --partial --progress
- -r
- recursive
- -l
- preserve symlinks
- -t
- preserve modification time
- -o
- preserve owner
- -p
- preserve permissions
- --devices
- preserve device files (for superuser only)
- --specials
- preserve special files
- -D
- same as --devices --specials
- -a
- archive mode, same as -rlptgoD
- --delete
- delete files in /source/target/ which do not exist in /source/path
rsync --helpto use rsync effectively.
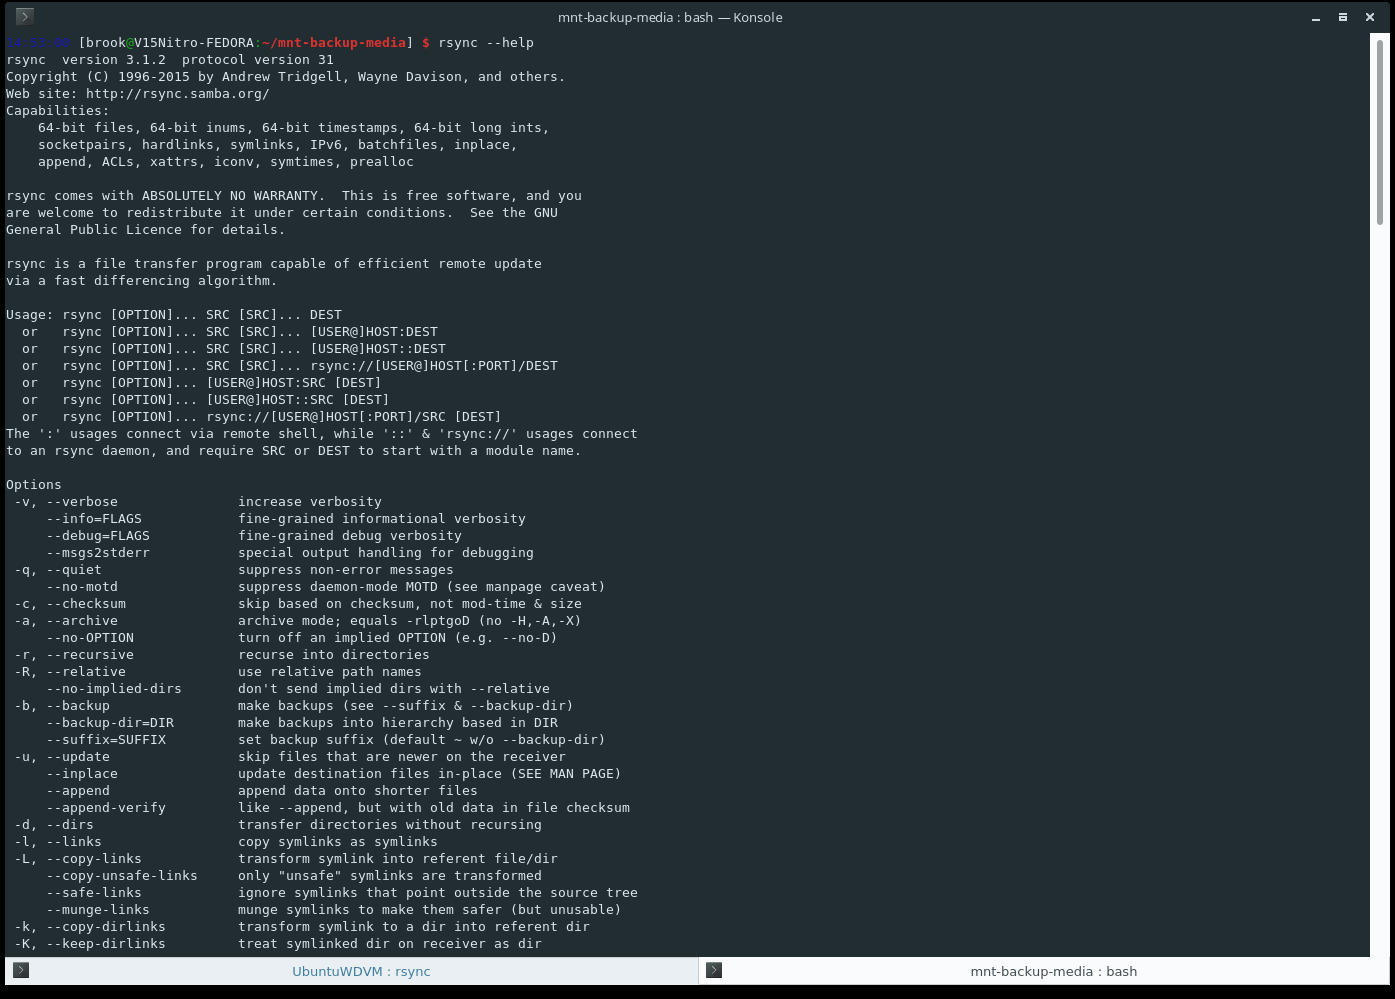
The Output of rsync --help
The rsync options are extensive.
Backing Up to External Storage
I use rsync primarily to backup a data partition and a partition that contains a virtual machine disk to an external hard drive. The partitions on the external hard drive are of equal size to the partitions to be backed up. Also, I've assigned volume labels to the partitions on the external hard drive -- this allows me to mount them easily with the labels without having to use the kernel assigned block device names, the UUIDs of the partitions or any of the other available identifiers after first having identified these identifiers.
I have also created directories for mount points -- with names that obviously correspond to the appropriate partition on the hard drive -- in my user directory to make mounting the external hard drives easy. This also avoids ownership problems compared to using the system supplied automatic mount points in /run/media.
Backing Up Data Partitions
list block devices
After plugging in the external hard drive, the available disks or partitions for backing up can be determined with:
sudo blkid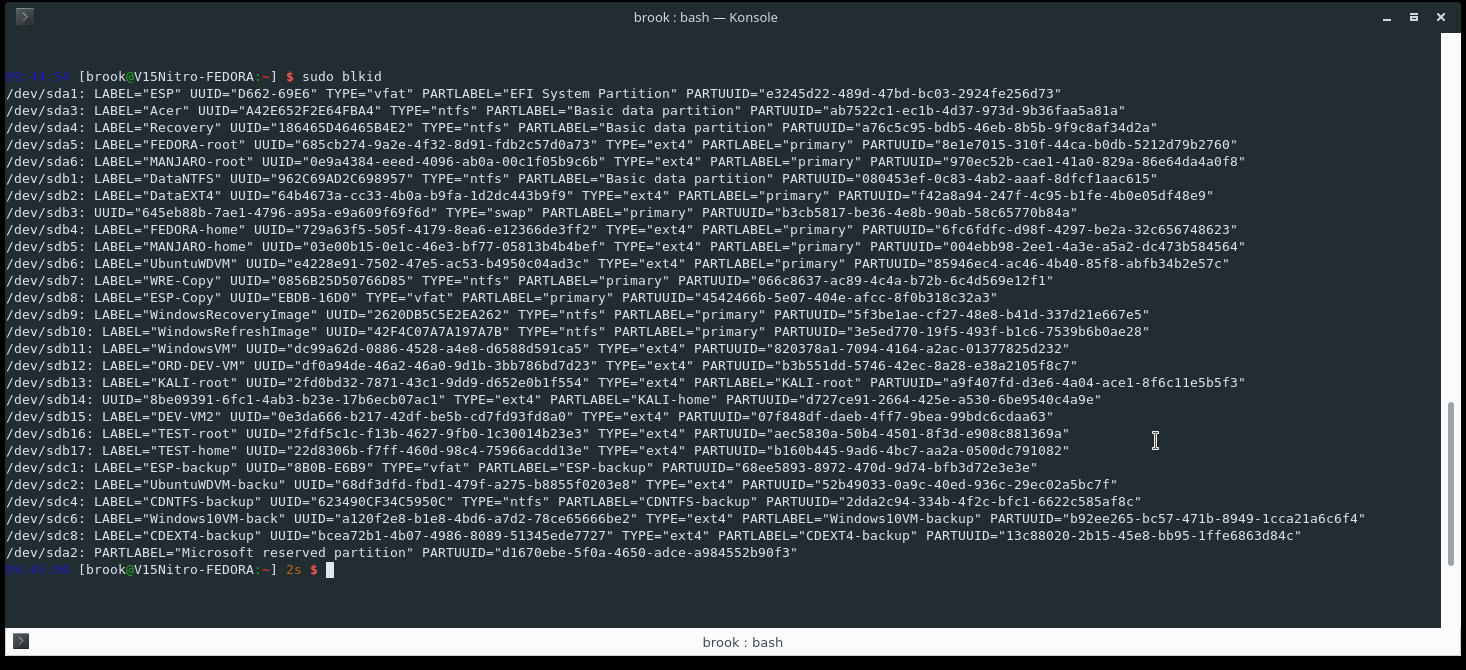
Determining available block devices.
The output of sudo blkid.
The external hard drive is /dev/sdc. It actually has several partitions, one for each data partition on my laptop's disks. For this example I want to use /dev/sdc1 with the LABEL CDEXT4-backup. (I actually renamed the partition in the course of writing this, so the examples below use DataEXT4-backup and not CDEXT4-backup.)
mount external storage
As mentioned above making a directory to mount the external hard drive backup partitions is desirable as opposed to using the automatic system mounting point. In my case I created a mount point in my user directory and mounted the external hard drive with:
- make directory to which to mount the external HD partition
- mount the desired block on the external device to the created directory
mkdir -p /home/brook/mnt-backup-media/DataEXT4-backup
sudo mount LABEL=DataEXT4-backup /home/brook/mnt-backup-media/DataEXT4-backupor
sudo mount /dev/sdc1 /home/brook/mnt-backup-media/DataEXT4-backup
I chose the first form because it is easier to use -- anytime I plug in the external hard drive that contains this partition, I can just use the LABEL of the volume (not the PARTITITON LABEL) instead of having to look up the /dev/sdX assigned by the system. Also if the USB connection is loose and the drive gets momentarily disconnected, the transfer will fail because a new /dev/sdX is assigned.
At this point the permissions of the mount point directory should be verified. Even though the directory was created by a regular user, after mounting the system may change the owner and group to root, causing the subsequent transfer to fail. This was the case in Fedora 27. So I changed the owner and group back to my user using:
sudo chown -R brook:brook /home/brook/mnt-backup-media/DataEXT4-backupNote that the group name may be different from the user name on some distributions.
execute rsync
rsync -aP --exclude="LinuxLook" --exclude="SoftwareDownloads" --exclude="Entertainment" --delete /home/brook/DataEXT4/ /home/brook/mnt-backup-media/DataEXT4-backup
Syncing to Remote Server
Transferring files to a remote host using rsync is similar to using scp. In the screenshot below, I use it to transfer some files to a remote host, in this case a virtual machine accessible from the host at IP 192.168.56.101, using:
rsync -rP ./images/optimized/ username@192.168.56.101:/var/www/ordinatechnic.com/public_html/sites/all/general-guides/images/optimizedIn this case the -r is not necessary since there aren't any directories in ./images/optimized. The effect of using the -P option is evident.
Using rsync for File Transfer to Remote Host.
The command is executed in a terminal panel of KDE's Dolphin.
Problems
The error I referred to at the top of the article involves transferring large files, which can cause transfers to fail due memory depletion if the current desktop session has been active for a while. The output from the failed execution
rsync -aP ~/UbuntuWDVM/ /home/brook/mnt-backup-media/UbuntuWDVM-backuis shown in the following screenshot, where the relevant lines are:
rsync: write failed on "/home/brook/mnt-backup-media/UbuntuWDVM-backup/UbuntuWDVM-flat.vmdk": No space left on device (28)
rsync error: error in file IO (code 11) at receiver.c(393) receiver=3.1.2]
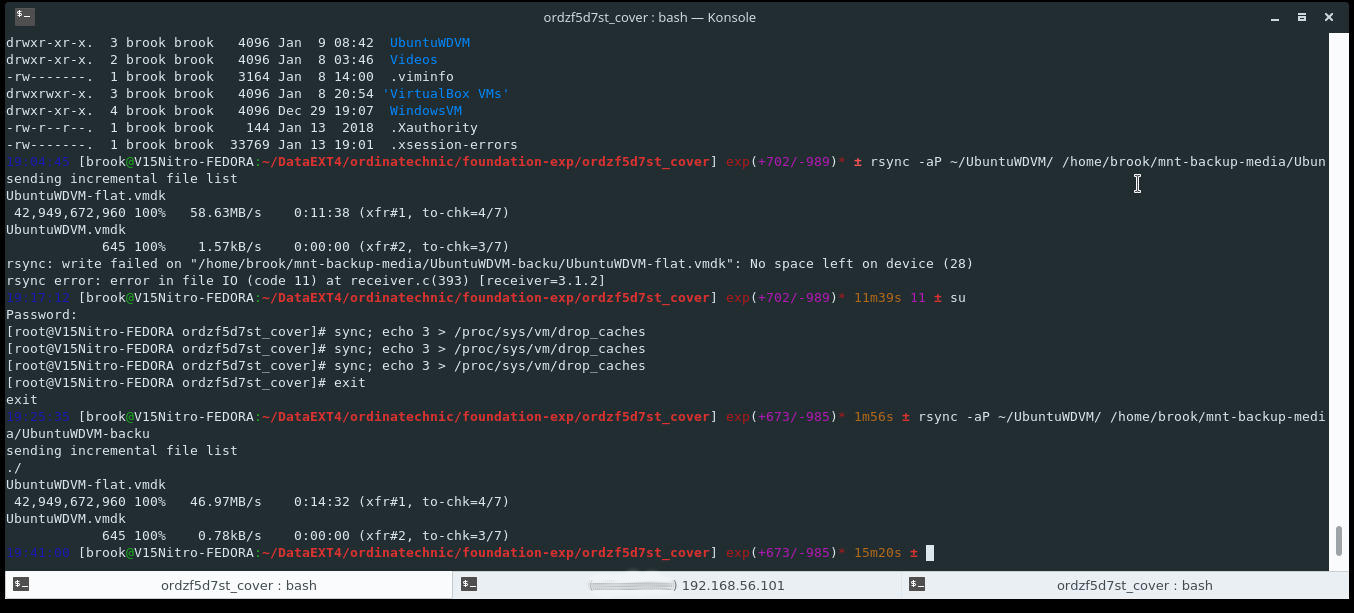
An Error When Transferring Large Files.
A "No space left on device (28)" error when transferring large files. In this instance, transferring a 40GB virtual disk file, the message is not accurate. The error happens to be due to insufficient memory during the session. The resolution is to clear the memory cache.
sync; echo 3 > /proc/sys/vm/drop_cachesand rerunning the command.
Conclusion
While scp and tar are essential programs for file transfer and backup, rsync is more beneficial in certain file transfer and backup scenarios.
References
- Digital Ocean tutorial
- https://www.digitalocean.com/community/tutorials/how-to-use-rsync-to-sync-local-and-remote-directories-on-a-vps
- rsync Website
- https://rsync.samba.org/
- Wikipedia rsync Article
- https://en.wikipedia.org/wiki/Rsync
- Tecmint Memory Cache Clearing Article
- https://www.tecmint.com/clear-ram-memory-cache-buffer-and-swap-space-on-linux/