Garuda Linux installation is typical of many popular Linux distributions as it uses the well known Calamares installer. Calamares focuses on simplicity and ease of use, forsaking the power and robustness of installers such as openSUSE's that allows complete configuration of the installed system in a GUI installer. Because of the focus of the Calameres installer, the setting of installation options is simple and straightforward, although the overall installation was not without its issues when using it to install Garuda.
One noteworthy item of Garuda Linux installation is that, although not part of the actual installation -- as in the two phase installations of some distributions such as Mageia, where some configuration tasks are completed after a reboot -- the distribution provides a setup assistant upon first boot that offers users an easy way to perform configuration tasks, in a process the distribution calls "finalizing the installation".
This article discusses the installation of Garuda Linux, as well as the post-installation configuration upon first boot using the Garuda Setup Assistant, as a supplement to Garuda Linux Review [KDE Dragonized (D460nized),210621].
Introduction
The Plasma Desktop of the Garuda live ISO, described in Garuda Linux Review [KDE Dragonized (D460nized),210621] Supplement: Pre-Installation includes an icon to launch the Calamares installer. The installer can also be launched from the Garuda Welcome application which is also included in the live ISO.
As mentioned above, the familiar Calamares installer makes installing Garuda simple and straightforward, but the overall installation was not without its issues. The most significant issue was that installation of Garuda took significantly longer than the installation of most other distributions -- not in the actual copying of the files contained in the installation image, but in the configuration of the GRUB bootloader during the final phase of installation. This issue is also present in the installed system during updates that require a GRUB update. This issue seems to be related to the same behavior when performing updates in Manjaro.
Of the installation's fifty-two minute duration, beginning after confirming the installation, Calamares only took about ten minutes of the fifty-two to copy files to the installation target. About twenty-five minutes of the installation were spent at 91% progress where Calamres indicated it was installing the bootloader, and about fifteen minutes at 94% progress where Calamares indicated it was performing "Misc post-install configurations". In fact, at both of these progress points it seems that the task that makes the installer seem to hang is the inspection of other installed OSes initiated by grub-mkconfig.
Other notable items of the installation:
-
A most unusual characteristic of Garuda's Calamares installer is that it will only allow Btrfs formatted partitions to be mounted except for the partition to be used as the EFI System Partition. None of the usually available filesystem formats for Linux, the most common being ext4, is available as selections for partitions that are installation targets. Even if a separate home partition is specified to be mounted, the only filesystem format available is Btrfs. (See Image 7 - Image 12 in the set of images captioned The Installation Steps.) This characteristic may be by the distribution's design (not Calamares) as one of the defining and differentiating features of the distribution is Btrfs snapshots and rollbacks with Timeshift. Also the distribution may not want to support users who mistakenly choose ext4 but expect the advertised rollback capability.
-
In the available partitions table displayed when manual partitioning is chosen, the partition labels are not shown, as are other partition attributes, such as filesystem format type, size, and the kernel assigned device name. Displaying this particular partition attribute would be useful to users that create and label partitions to be used for the installation before beginning the installation.
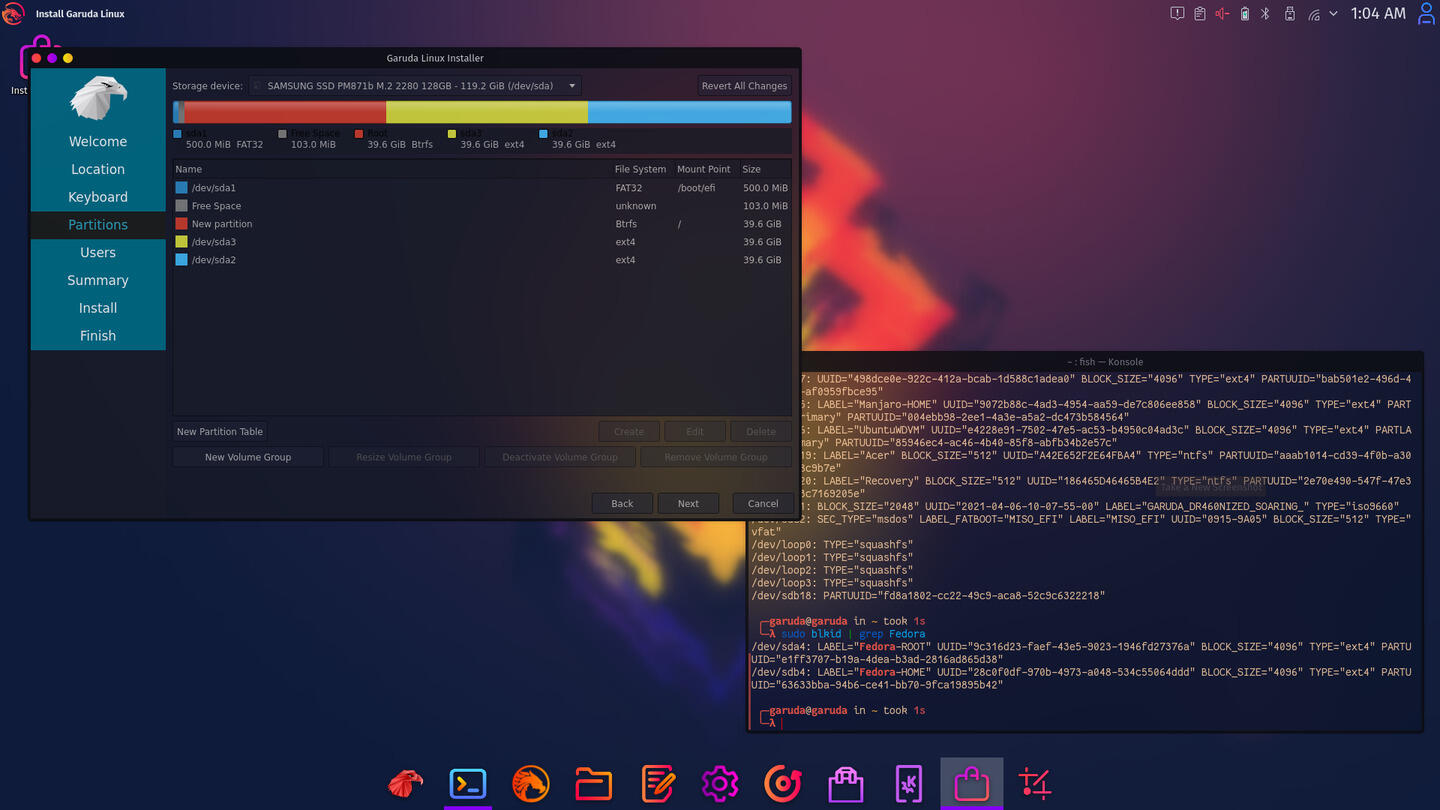
Available Partitions Screen in Manual Partitioning Mode
Partition labels are not displayed as are some other partition attributes.
This missing feature of Calamares is not a result of Garuda's choices in configuring the installer, but a limitation of Calamares itself, as I have never seen it in any other distribution's use of Calamares.
-
By design, Calamares does not allow advanced configuration options such as specification of filesystem options, for example relatime and noatime, and configuration items in other areas of the system are not possible. Only the most advanced GUI installer, openSUSE's YaST allows this, and of course Arch's manual installation.
A complete set of screenshots of the installation is included below, where you may discover some more unique features that I didn't mention.
Installation Steps
The installation steps with the manual partitioning option, reusing existing partitions on the Dell G5 are shown below.
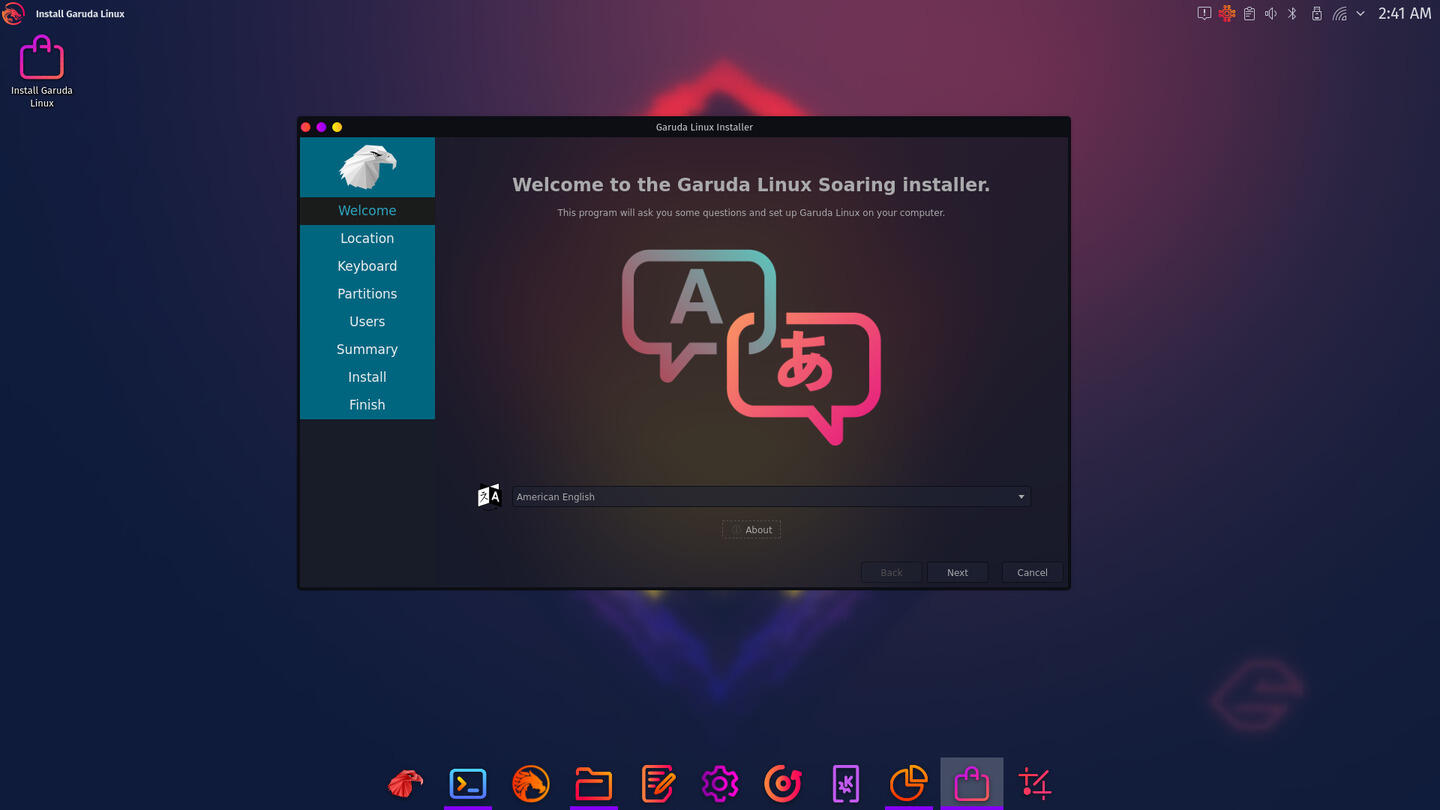
The Installation Steps
The installation steps with manual partitioning on previously prepared partitions.
Click on any of the thumbnails below to see a slideshow of the screenshots.
Additional Software Installation
One of the unique features of Garuda Linux is that it eases the user's setup of the installed system through the Setup Assistant component of the Garuda Welcome application. The Setup Assistant starts upon first boot after installation and offers to perform post-installation configuration tasks including:
-
updating repository mirrors
-
updating the installed packages
-
installing additional software
-
installing Asian fonts
-
enabling printer, scanner, and Samba support
-
installing additional Garuda wallpapers
-
installing additional KDE applications and components
The following set of screenshots shows all of the dialog windows presented and the terminals where the actions are performed as a result of the user inputs.
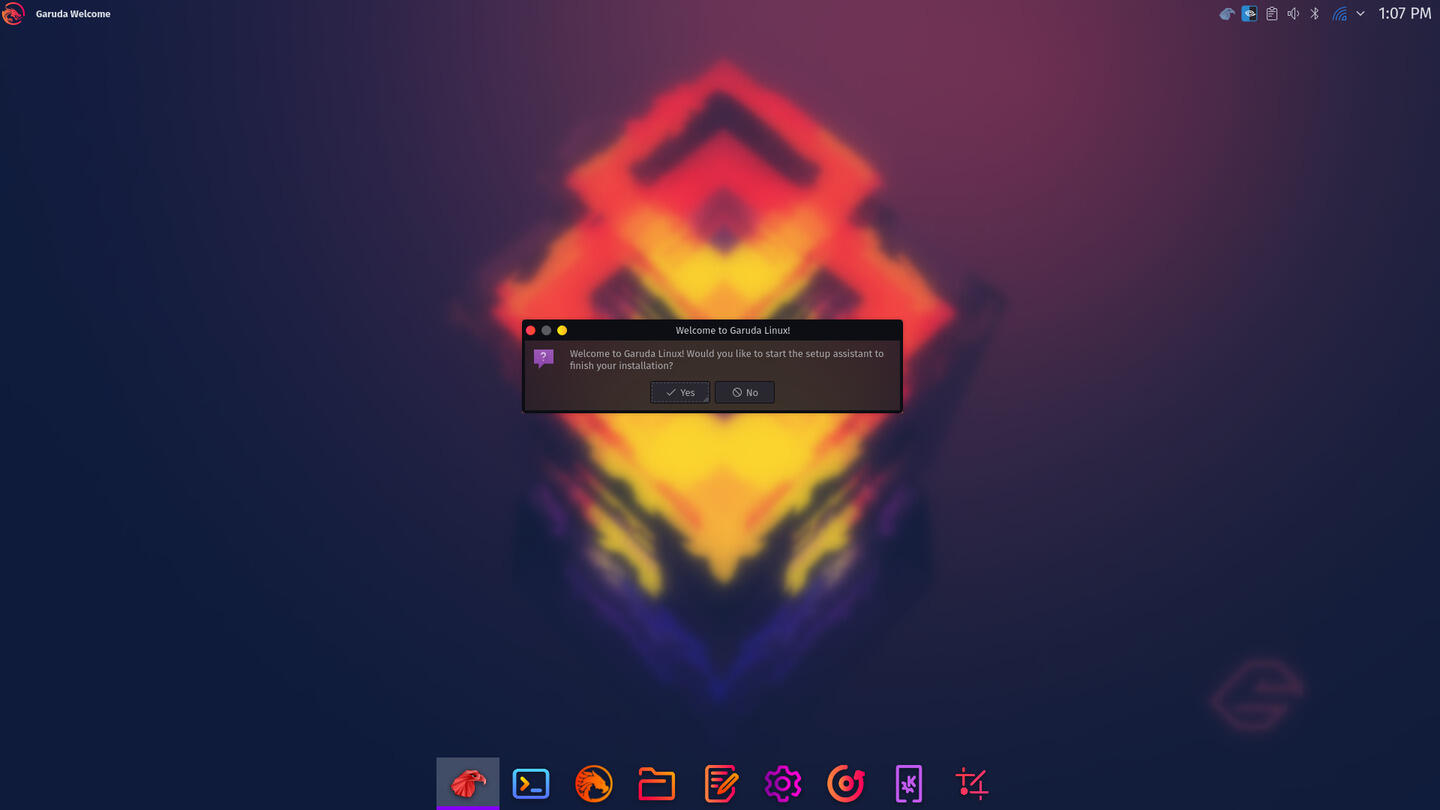
Post Installation Tasks with Garuda Setup Assistant
Upon first boot, users are prompted whether post installation tasks should be performed and additional software installed.
Click on any of the thumbnails below to see a slideshow of the screenshots.
This feature of Garuda Linux is very useful, in installing additional software quickly immediately after installation, instead of over the course of days, as I usually do after installing a distribution, as I realize I need a certain program that is not already installed. I also found its separation of software selections by category in comprehensive lists to be a great way to discover new software. The implementation of the feature -- which is just dialog boxes presented for the bash scripts which do the work -- as a long sequence of separate dialog boxes became tedious. The developers should instead present a single window with tabs separating the categories, similarly to the Garuda Assistant.
Conclusion
Garuda Linux installation is simple and straightforward. The only real issue for those who are installing on a computer with many other Linux installations on other partitions is the inordinate amount of time taken on bootloader installation and configuration during the final phase of the process. The Garuda post installation Setup Assistant is a useful feature that allows users to discover and easily install additional software.